Sun's Tech 21 Guide
About me|Discussion|Wiki Projects|Sandbox
My Guides|Tech 21 Guide|Tech 22 Guide
This is a guide for obtaining tech 21 skills, and explanations on everything associated with them.
Tech 21 skills are received from missions at Spartan Garrison, in Serengeti Blockade. They take four Shards (equal to 40 Shard Dust total), 7 Cloud Mercury and 1,000,000,000 Credits per skill.
To obtain shards, there are two different ways: The first way to obtain shards, is to get Shard Dust from Staff Quarters, off Olympus Entrance (you can transwarp directly to Staff Quarters once discovered). You'll need to complete various daily missions to obtain ~10 Shard Dust a day, and an extra 10 every week from the weekly mission available there. An explanation on this will be found further down. 10 Shard Dust can be converted into 1 Shard of your choice, different shards are required for different skills.
The second way is the old, original way to get shards. At Spartan Garrison, in Serengeti Blockade, you can get the keys to the Pretenders via the Olympus Missions. After you obtain for instance the Ares Key, you get a new mission, to kill Pretender Ares, which will reward you with a Strife Shard, the same applies to the other four pretenders.
- Pretender Hermes - Swift Shard
- Pretender Ares - Strife Shard
- Pretender Poseidon - Storm Shard
- Pretender Hephaestus - Fire Shard
- Pretender Zeus - Lightning Shard
For information on getting the keys and such, see Pretender Kills for Shards section.
You can also get Unstable Shard Dust from the pretenders and their guards, which will decay into neurobound Shard Dust after about half an hour. You can also convert 10 Shard Dust into 2 Shard Tokens, which have the same uses as Shard Dust, but are not neurobound (you can't trade in let's say 8 Shard Dust and 2 Shard Tokens for a Shard though, it needs to be 10 Shard Dust or Tokens).
| Skill | Shard Costs |
| Piloting | 1 Fire Shard, 1 Storm Shard, 1 Strife Shard, 1 Lightning Shard |
| Weaponry | 1 Storm Shard, 1 Strife Shard, 1 Lightning Shard, 1 Swift Shard |
| Shielding | 1 Fire Shard, 2 Storm Shards, 1 Strife Shard |
| Engine | 1 Fire Shard, 3 Swift Shards |
| Equipment | 2 Fire Shards, 1 Storm Shard, 1 Swift Shard |
| Tractoring | 1 Storm Shard, 1 Lightning Shard, 2 Swift Shards |
| Energy | 1 Fire Shard, 1 Storm Shard, 2 Strife Shards |
| Radar | 2 Fire Shards, 1 Storm Shard, 1 Swift Shard |
| Cloaking | 2 Storm Shards, 1 Strife Shard, 1 Swift Shard |
| Drones | 2 Strife Shards, 1 Lightning Shard, 1 Swift Shard |
Contents
Tech 21 Dailies
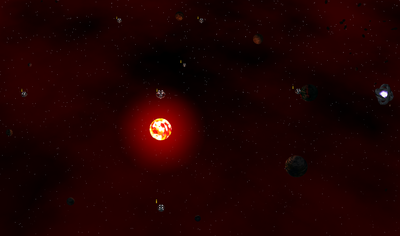
|
These dailies can be found in Staff Quarters, off Olympus Entrance, and can be directly transwarped to once explored.
There are five dailies you can do, to receive a daily mission (you don't get the choice of which one), you need to dock at Spymaster's Quarters in Staff Quarters, and grab the mission Discreet Reconnaisance. This will randomly give you one of five mission items, which are listed in the table below, and are required to access the corresponding station for a daily mission.
There is also a weekly one you can do, being Alchemist's Quarters, which instead of fighting guardians, chasing down targets or helping others, you trade in commodities and items in exchange for Shard Dust.
| Mission Item | Corresponding Station |
| Mnason's Letter of Introduction | Arena Master's Quarters |
| Aktaion's Letter of Introduction | Guardian's Quarters |
| Herophilus 3000's Distress Call | Herophilus 3000's Quarters |
| Keryx's Letter of Introduction | Messenger's Quarters |
| Hermes Intel | Hermes' Quarters |
After receiving a mission item, you'll need to find the appropriate station and complete the mission available there, this mission will take your daily letter and give you the daily mission. If you accidentally choose the wrong one, you can hit (default: M) to open up your missions screen, find it and abort it, because if you have the wrong one open, you cannot start another daily mission in the same day.
For an explanation on each daily mission, see the next few sections. You can also scroll back to the top of the page to see the table of contents, and find the daily you got from the list there.
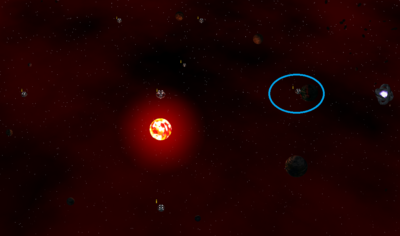
|
Arena Master's Quarters
The Arena Master's Quarters daily mission revolves around capturing AI pilots by destroying their ships, and bringing them back to Mnason, the Arena Master.
To 'capture' a target, you must defeat them and scoop the red debris that drops, please note however that these pilots are neurobound, so make sure you scoop them before something else does!
You'll be given the following requests, each as it's own mission, so you don't need to complete all five:
- Acquire 5 Captured Forgone Pilots -- ? Shard Dust as reward
- Acquire 5 Captured Ice Pick Pilots -- ? Shard Dust as reward
- Acquire 2 Captured Drop Pilots -- ? Shard Dust as reward
- Acquire 1 Captured Green Battleship Pilot -- ? Shard Dust as reward
- Acquire 2 Captured Wattage Pilots -- ? Shard Dust as reward
- Acquire 1 Captured Hive Pilot -- 4 Shard Dust as reward
The most difficult and rewarding part of this daily is killing a Hive, it's recommended you have a Gunner with a Deathblossom to take care of it's Wasp fighters.
After bringing back a Captured Hive Pilot, you'll be given access to a set of missions that for ?? will give you a neurobound Hermes, Poseidon, Hephaestus or Zeus Controlbot.
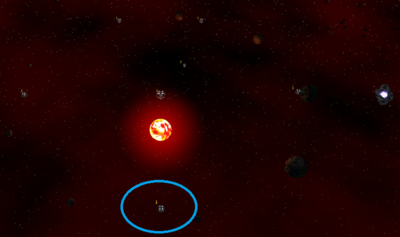
|
Guardian's Quarters
The Guardian's Quarters daily mission asks you to hunt down various guardians who have defected from the Pretenders and are now roaming, with Aktaion, master of the Guardian's Quarters, rewarding you for assisting him.
You should be warned though that attacking a guardian, for example, a Roaming Ares Warrior, will cause all Roaming Ares Warriors to become hostile and attack you on sight.
You'll be tasked with the following requirements, each with it's own mission, so you don't have to do all five:
- Kill 10 Roaming Ares Warrior -- 1 Shard Dust as reward
- Kill 10 Roaming Stingray -- 1 Shard Dust as reward
- Kill 5 Roaming Baby Cyclops -- 1 Shard Dust as reward
- Kill 5 Roaming Hermes Ram -- 1 Shard Dust as reward
- Kill 5 Roaming Zeus Lackey -- 1 Shard Dust as reward
After killing all the roaming guardians required, you'll be given a second task to complete, to find Cronos and eliminate him. This final task will reward you with 5 Shard Dust.
A very easy way to find most of the roaming guardians you need to kill is to join someone else doing the Tartarus daily, the guardians found in Tartarus count as roaming guardians.
After killing Cronos and completing this daily mission, you will unlock a set of missions that for 15 Shard Tokens, you can get a neurobound Hermes, Ares, Poseidon, Hephaestus or Zeus Charger.
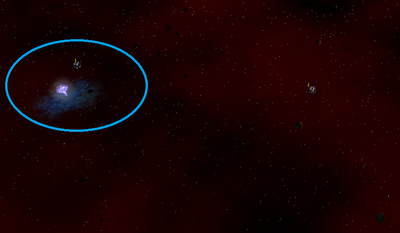
|
Herophilus 3000's Quarters
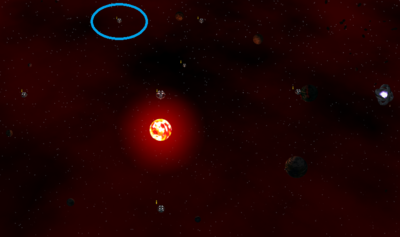
The Herophilus 3000's Distress Call daily mission is found on the left side of Staff Quarters, and takes place in Tidepool, where Herophilus 3000 is stranded with no engine.
You're only given one key to the Tidepool, and it's a squad-only instance, meaning random people can't enter it with you.
Also, if you're bringing slaves with you, upon entering Tidepool, you'll need to order them to jump though the nearby wormhole that instantly brings you to Herophilus 3000, otherwise they'll have to fly all the way to you when you jump to Herophilus (because the wormhole leads to somewhere else in the same star system).
Once inside Tidepool, you'll need to use the nearby wormhole to get to Herophilus right away, saving you time. You'll find Herophilus nearby, who's research vessel was damaged and is unable to leave Tidepool. You'll need to use a tractor and bring him all the way back to Staff Quarters (by moving to the right).
While approaching the exit to Staff Quarters, you'll be ambushed by multiple Stingrays, Makos and Swordfish. Herophilus 3000 will become immobile until you defeat all the nearby enemies, who will sometimes drop Shard Dust upon death. You'll be ambushed three times before reaching the end. Once you do reach the end, and the exit is in sight, Zeus will release the Kraken, and you'll need to kill it before you can send Herophilus through the exit. After defeating the Kraken, you'll need to push Herophilus through the wormhole, and upon doing so he will drop a Lyceum Signet, which you'll need to grab before leaving, and turn it in outside at Herophilus 3000's Quarters for your final Shard Dust as a reward.
It should be noted that Herophilus will often bug out and you'll see him float off every time you're ambushed, when in reality he actually did lose all speed. Refreshing your client (via /f in chat) will fix this, or tractoring him while in range, which will update your client with his correct position.
Once you've rescued Herophilus from Tidepool, you'll be given access to a set of missions that for 25 Shard Tokens will give you a neurobound tractor of your choice, being the Hermes' Grappler, Ares' War Cry, Poseidon's Tide, Hephaestus' Flame or the engineer energy transfer beam, the Zeus' Energizing Beam.
|
Messenger's Quarters
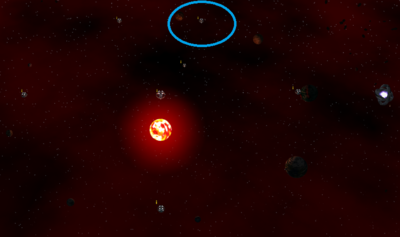
The Messenger's Quarters daily mission starts at the top left station, where Keryx, master of the Messenger's Quarters will send you around Perilous Space to bring back a message from one of her contacts.
Every time you reach a location, you'll be ambushed by some guardians who, on death, will drop secret Pretender Intel, which you must give to Keryx's contact in the nearby AI station to get your reward and move onto the next location.
Starting in Staff Quarters, you'll go to the following places in order:
- Blue Photon Processing - you'll be attacked by 4 Ares Warriors -- 1 Shard Dust as reward
- Enigmatic Sector - you'll be attacked by 4 Stingrays -- 1 Shard Dust as reward
- Rocky Horror - you'll be attacked by 4 Baby Cyclopes -- 2 Shard Dust as reward
- The End of the Universe - you'll be attacked by 4 Zeus Lackeys -- 2 Shard Dust as reward
- Now you'll have to search for Hermes (he can be found in both north and south Perilous Space at the same time), you'll be attacked by 7 Hermes Rams when you find him.
- After helping Hermes, return to Staff Quarters and inform Keryx of your discovery -- 4 Shard Dust as reward
After assisting Hermes, you'll be given a new mission, which for 2 Shard Tokens, you can get an Olympian Travel System tweak.
|
(Tartarus) Hermes' Quarters
The Tartarus daily mission is a very quick break-in rescue mission to save Cronos who is trapped in Tartarus, for the real Hermes who is searching for him.
You'll only get one key to Tartarus, and it's a squad-only instance, meaning random people can't enter it with you.
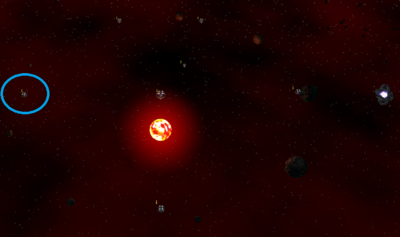
The entrance to Tartarus can be found to the right of the Warp Beacon, above the exit to Olympus Entrance. Once you enter, you'll find yourself in a spacious area containing many suns and moons flying around. Nearby you'll see Cronos (which happens to be a station, you can't dock until all enemies are defeated).
Several waves of guardians will attack you, each with a chance of dropping Shard Dust on death:
- Kill 10 Tartarus Warriors
- Kill 7 Tartarus Stingrays
- Kill 5 Tartarus Cyclopes
- Kill 5 Tartarus Rams
- Kill 4 Tartarus Lackeys
After defending against the guardians, all that is left to do is dock at Cronos' ship and speak to him, which will reward you with one final Shard Dust.
|
(Weekly) Alchemist's Quarters
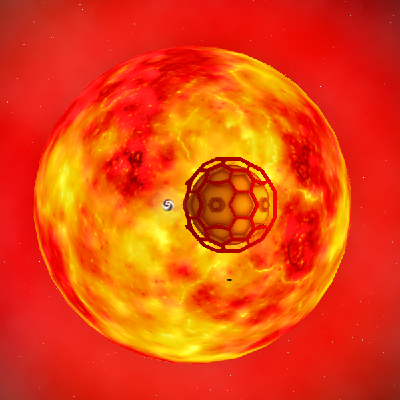
The Alchemist's Quarters weekly mission is an alternative to fighting, rescuing and capturing. Zosimos, master of the Alchemist's Quarters, is in charge of keeping everything running smoothly in Olympus, but has such a limited budget to do so. In exchange for supplies, he'll give you up to 10 Shard Dust a week.
You'll be given 16 different missions upon accepting this, you'll only be able to choose up to 10 of them a week, once you've accepted 10 the other 6 will disappear.
Ares, whose missions begin with 'The old spit and polish', needs the following:
- 20 Cloud Mercury
- 20 Gold
- 1 Hydra Eyes radar
- 20 Diamonds
Hephaestus, whose missions begin with 'Cleaning house and hull', needs the following:
- 20 Fembots
- 1 Venusian Jackhammer weapon
- 5 Transdim Station Extensions and 5 ReTardis Station Extensions
Poseidon, whose missions begin with 'A cut above the rest', needs the following:
- 20 Jelly Beans
- 20 Petroleum
- 20 Gravity Controller
- 1 Hydra Hide shield
Zeus, whose missions begin with 'A special friend', needs the following:
- 500 Entertainers
- 20 Funky Furniture
- 1 Hydra Awesomeness capacitor
- 1 Venusian Vitality energybank
Zosimos is also tasked with powering all of Olympus, so as a bonus mission, 'A nuclear idea', he also asks for an Electric Eel Powercore, which (if you have this mission open), the Electric Eels in Perilous Space will drop a Powercore on death.
After you've completed a task for him, a new mission will appear every time, which will automatically complete when accepted and reward you with the Shard Dust you need.
|
Pretender Kills for Shards
In Serengeti Blockade you can find five missions, Pretender Hermes, Pretender Ares, Pretender Poseidon, and so on. Completing these will give you the keys to enter each branch of Olympus and fight the Pretenders themselves. Upon receiving the keys, you are given a new mission, to kill that specific Pretender that you just got the key of (or all of them, if you completed them all). This will give you an entire shard of that specific Pretender after killing them and returning, and is repeatable. The shards you get from killing each Pretender:
- Pretender Hermes - Swift Shard
- Pretender Ares - Strife Shard
- Pretender Poseidon - Storm Shard
- Pretender Hephaestus - Fire Shard
- Pretender Zeus - Lightning Shard
To obtain a key, the mission will ask you for the augmenter of that Pretender (so, to acquire the Poseidon Key, you'll need a Poseidon Augmenter), and to salvage Olympus Fragments from the giant pillbox in Olympus Entrance.
Olympus Fragments
Once you have the missions to build the keys, you'll need to collect Olympus Fragments from the pillbox in Olympus Entrance.
The pillbox is rather tanky and has a slow firing, hard hitting Lightning Bolt, which it will use against anything that gets too close to it (it's range is limited to about the exit out of Olympus Entrance).
One strategy that is often used is to fire missiles at it until it dies, however this can take a very long time and consume most if not all of your missiles, I recommend simply finding someone willing to blow it up for you if you can't.
WARNING: bring a combat slave with spare room or a friend / alt to scoop the fragments for you! If you scoop up any of the fragments dropped by the pillbox, all your key missions will go to 1/1 Olympus Fragments obtained, and no more will drop from the pillbox, they only drop from having a mission that requires them!